Category Archives: Appetizers

Christa’s Spinach Pie:

Our friend Christa loves to experiment with new dishes. So whenever we get together, in her house or ours, it’s almost always something new that one of us has put together and is eager to share with the other.

It is of great help ofcourse that both our husbands love food, and both have a “forgiving palate”, a good feature to lighten up our sometimes failed experimentations.

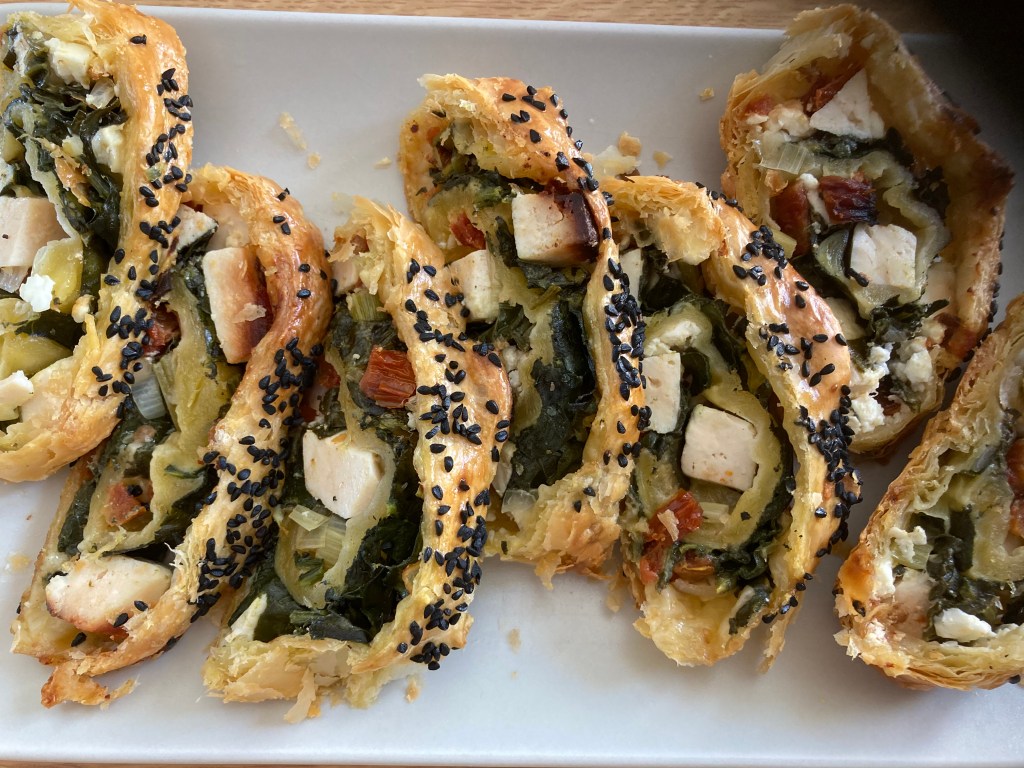
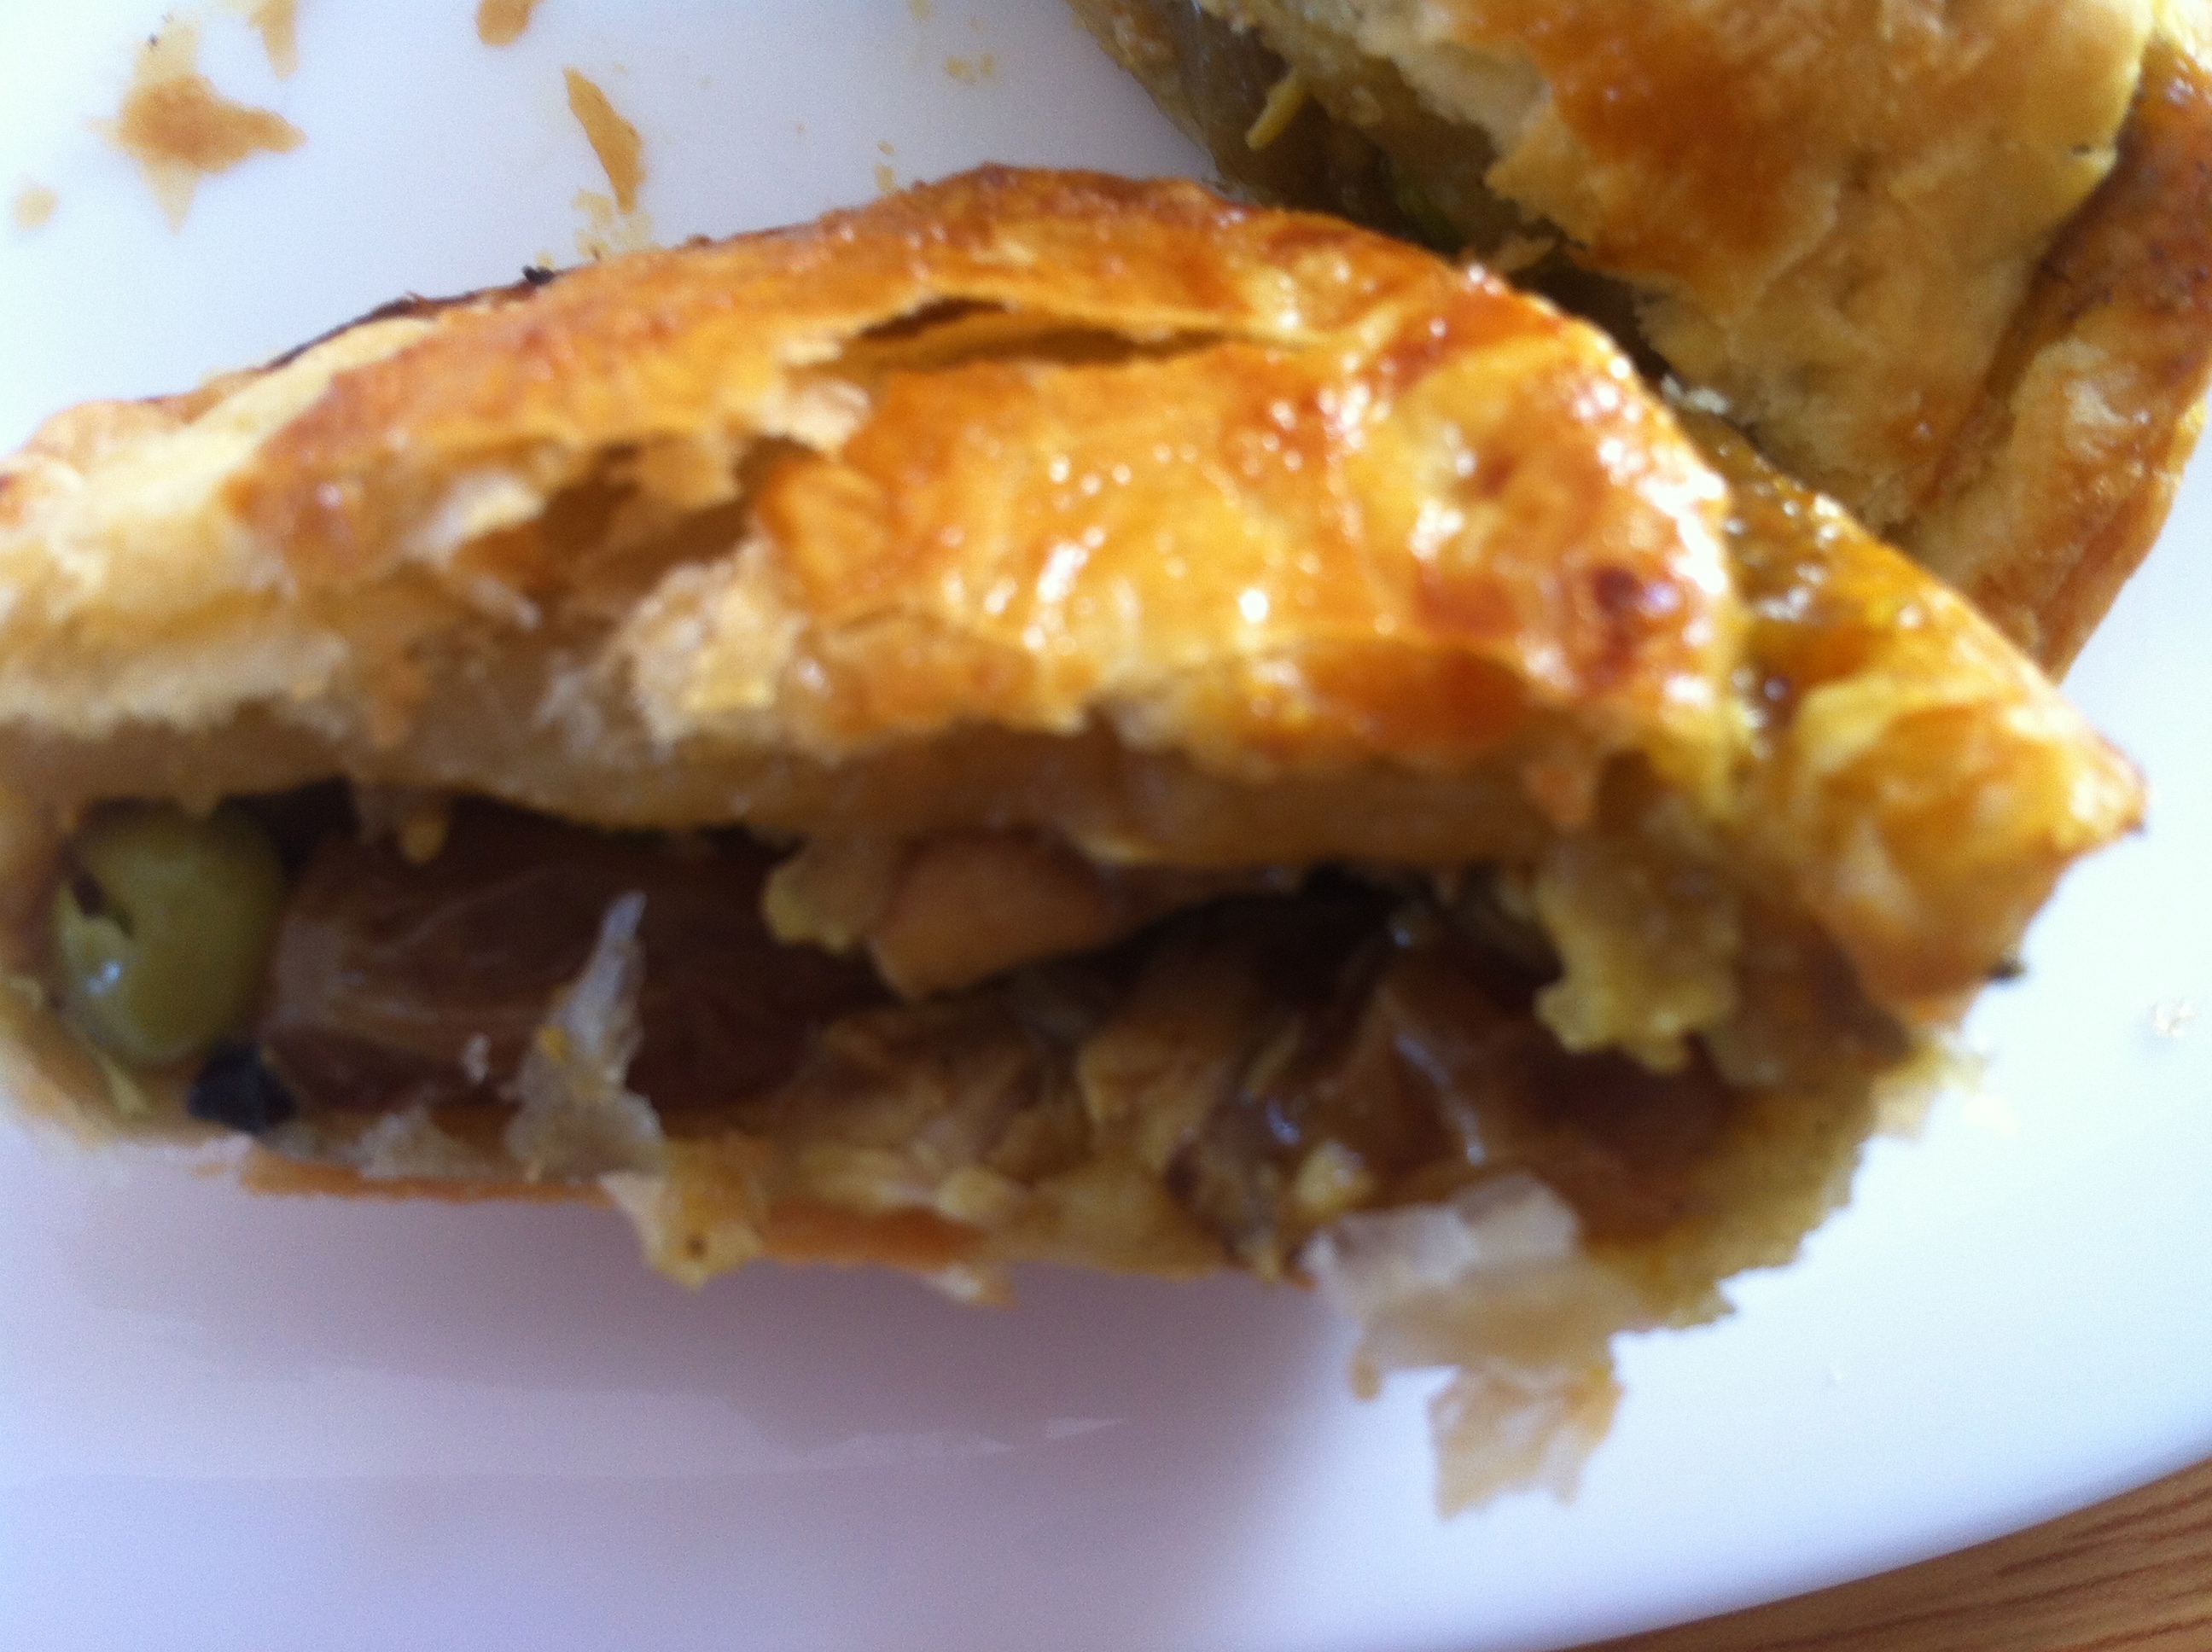
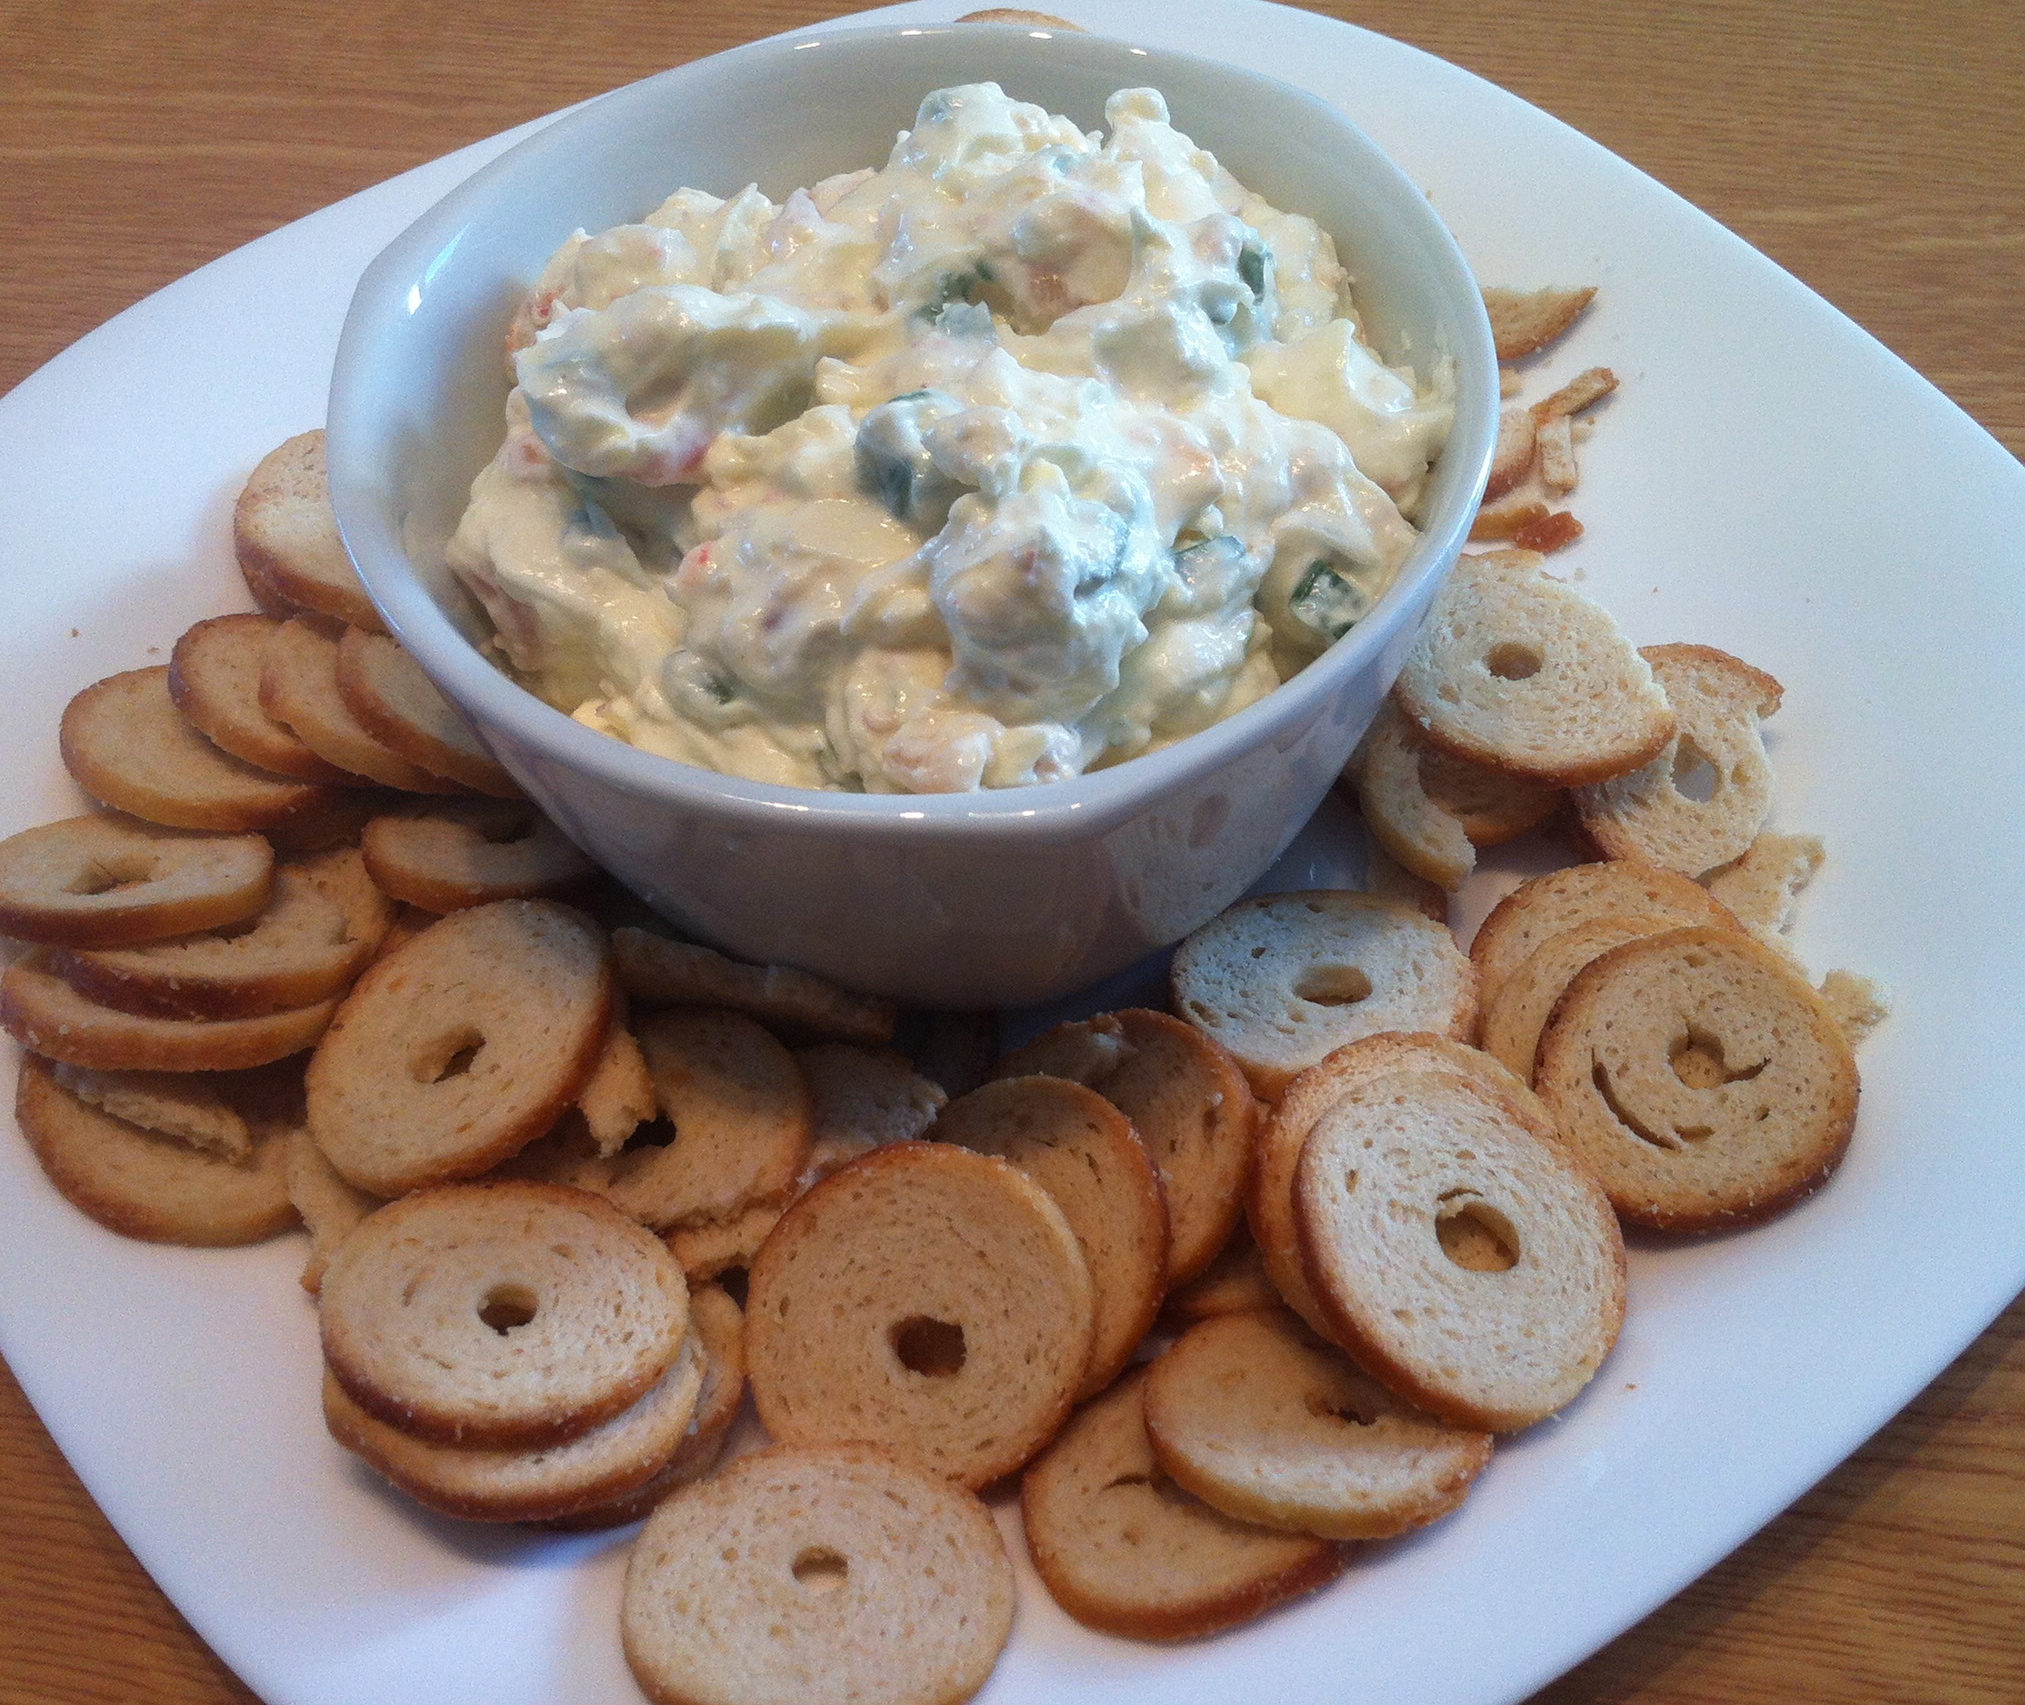
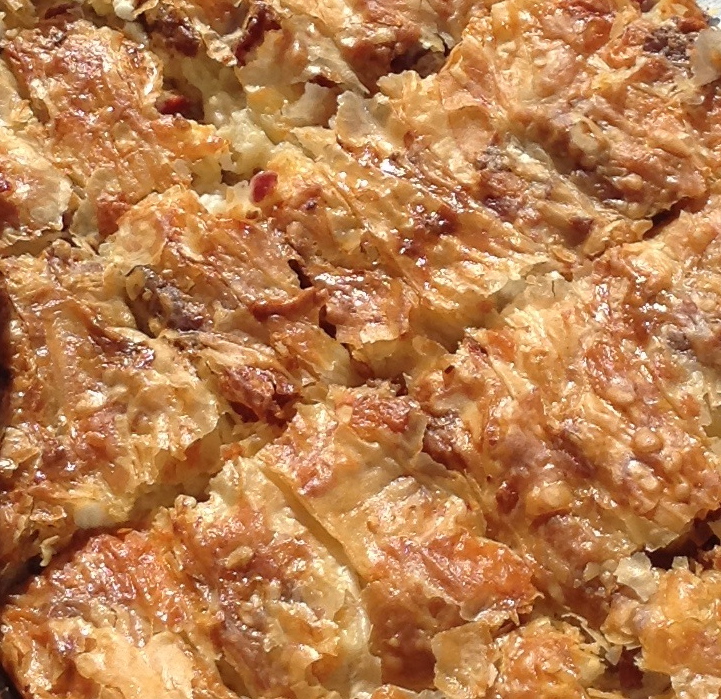
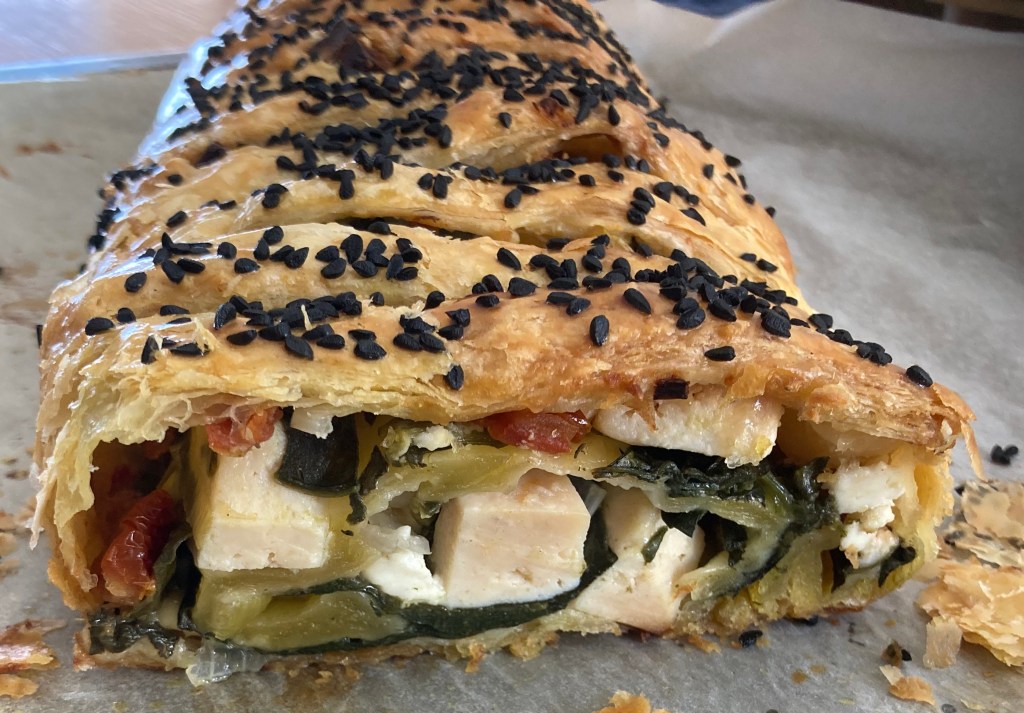
This one right here is a great success, impressive looking, and really easy to make. I have no doubt that you will love it as much as we do.

What makes this pie different from the traditional Greek Spanakopita, is 1) the pastry: puff pastry instead of filo, and 2) the cheese: Anthotiro instead of just feta. Also 3) the spinach is used fresh instead of cooked and drained.

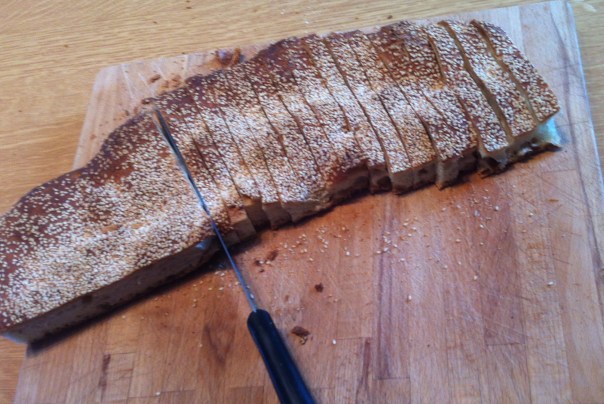
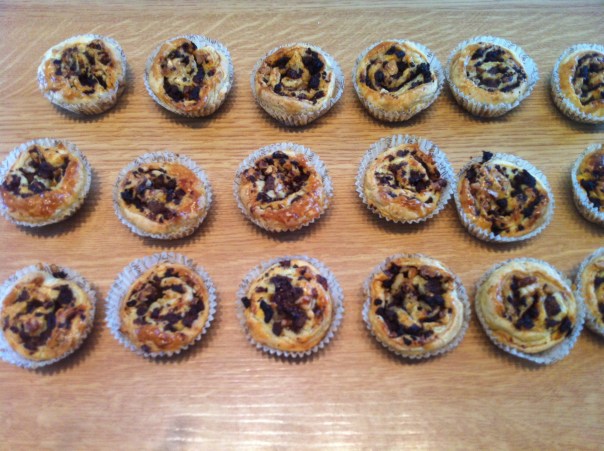
I loved the use of Anthotiro because the cubes stay almost intact after cooking, and easy to see in the final product, instead of being crumbled into the mixture. When the pie is sliced, hot or cold, it is very pretty looking. 

So back to the star ingredient “Anthotiro”. 

This cheese is made from sheep or goat milk, or a mixture of both. It can be fresh like Misitra, or dry also like Misitra.

The version used in this recipe is dry Anthotiro.

Ingredients:

1 sheet defrosted puff pastry (400 grs)

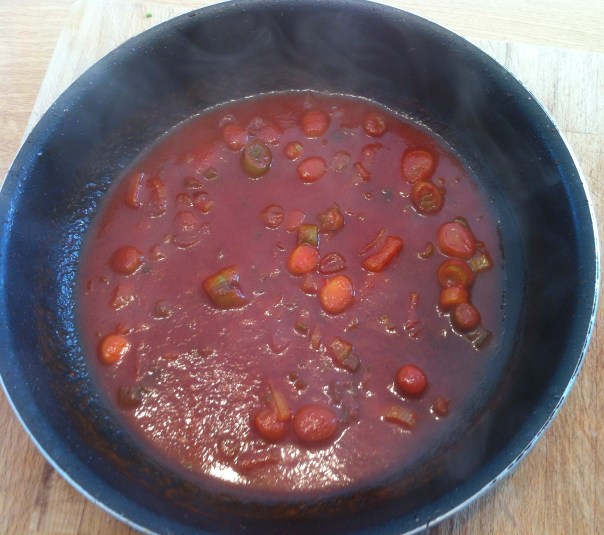
4 pieces sundried tomatoes preserved in liquid, chopped small

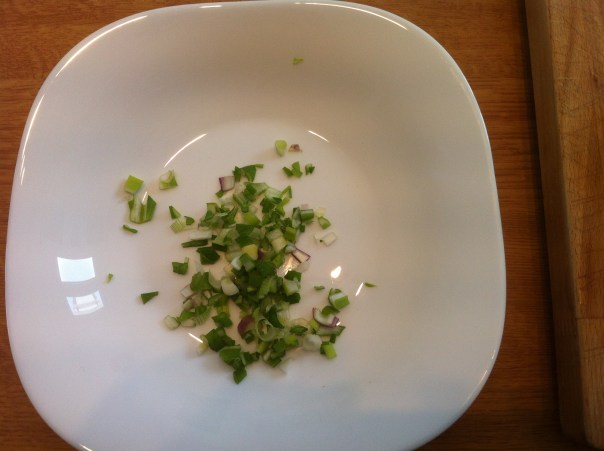
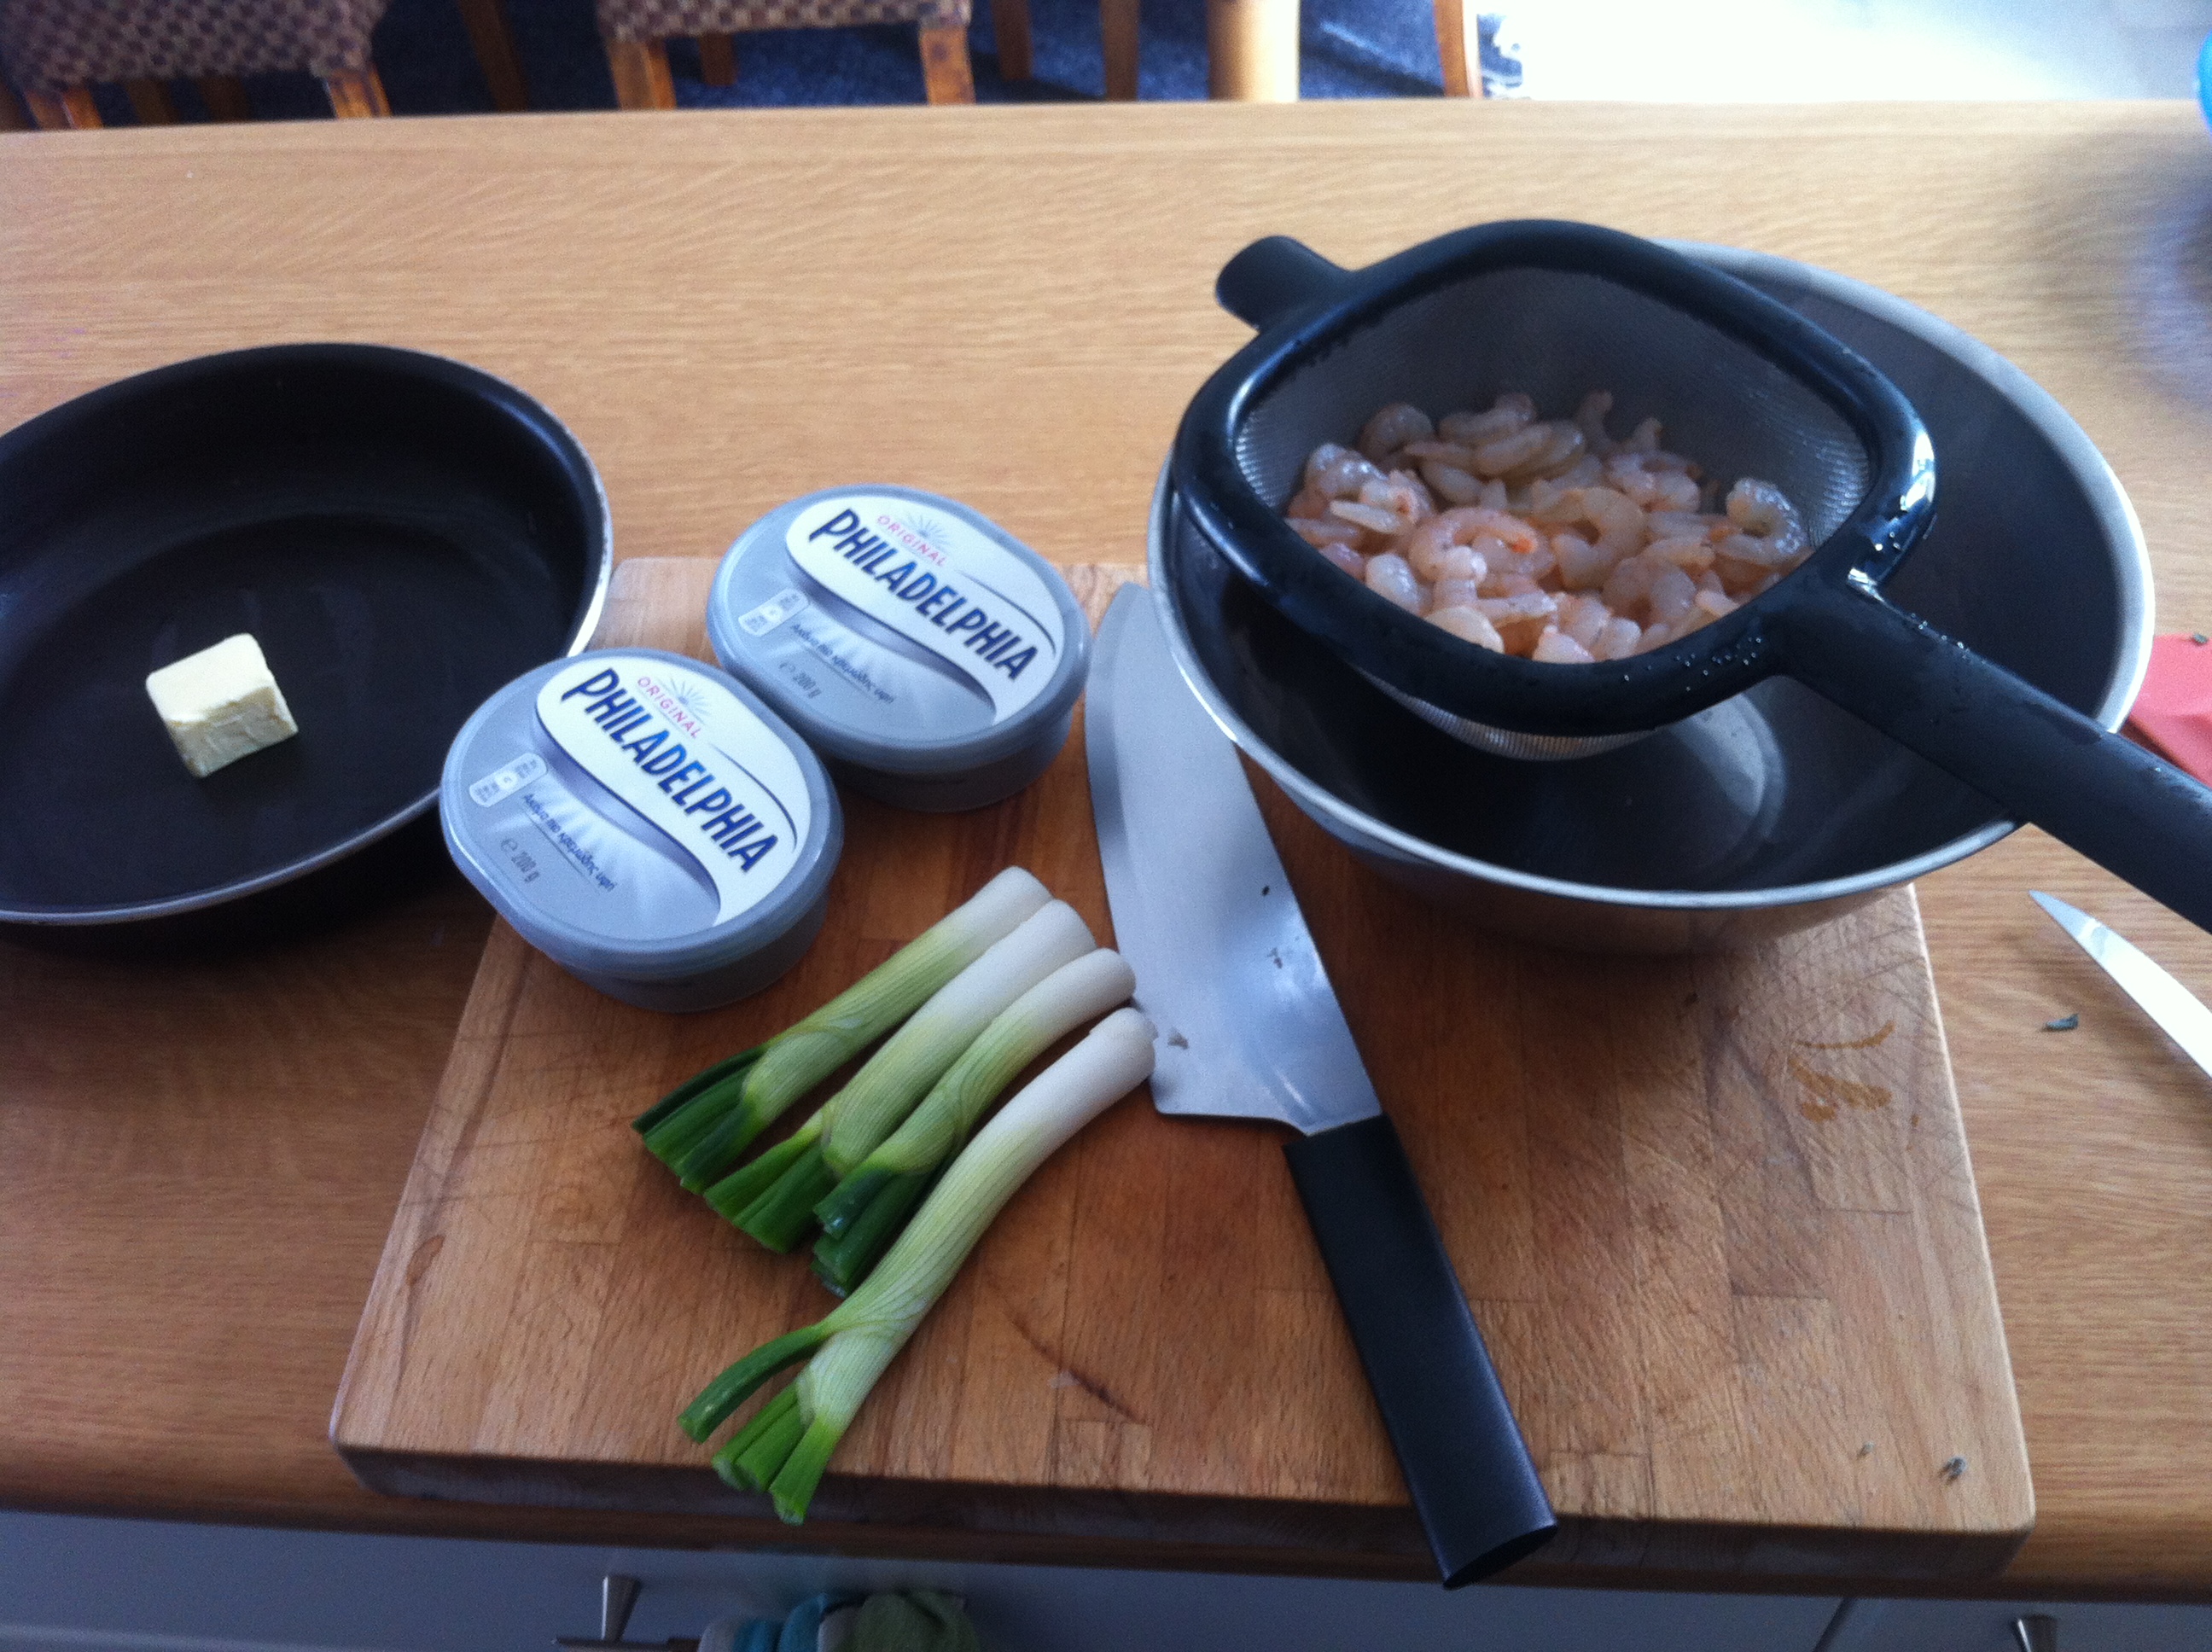
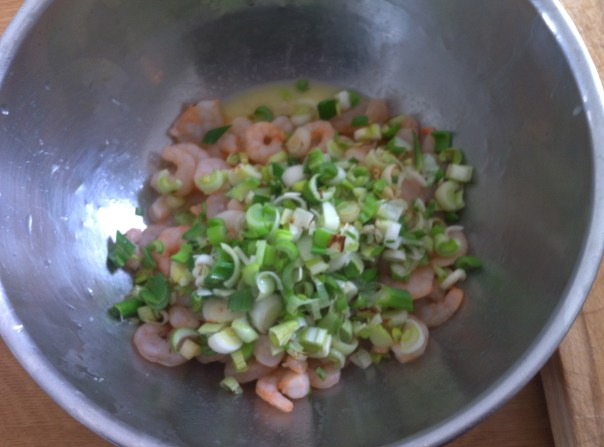
2 small scallions chopped small

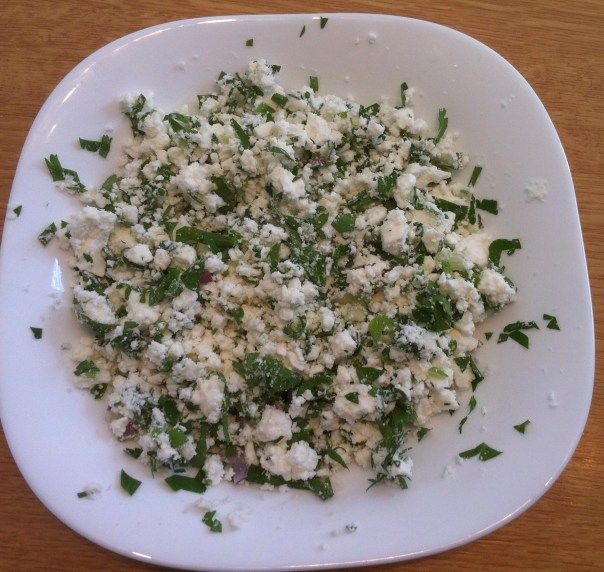
180 grs anthotiro cut in cubes

80 grs crumbled feta

80 grs grated parmesean

125 grs fresh spinach chopped

1 beaten egg for brushing

black sesame to sprinkle on top

Method:

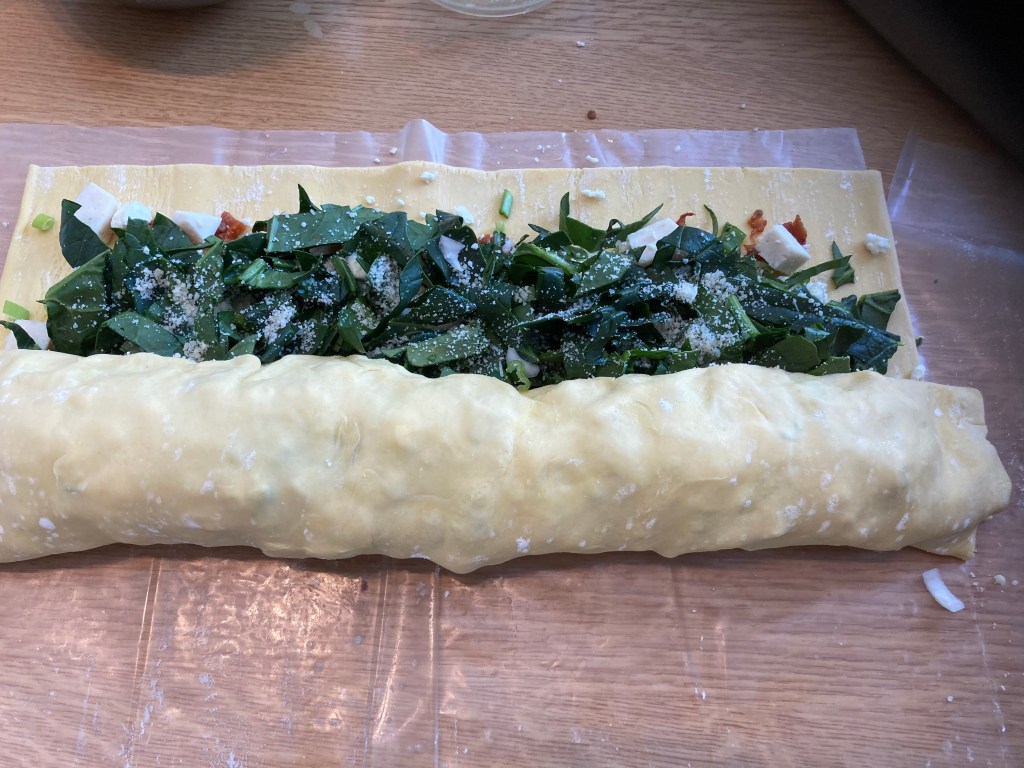
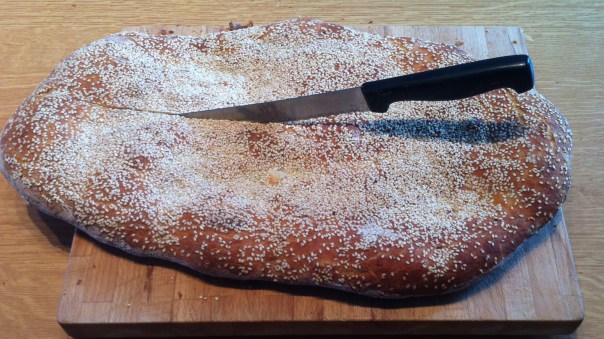
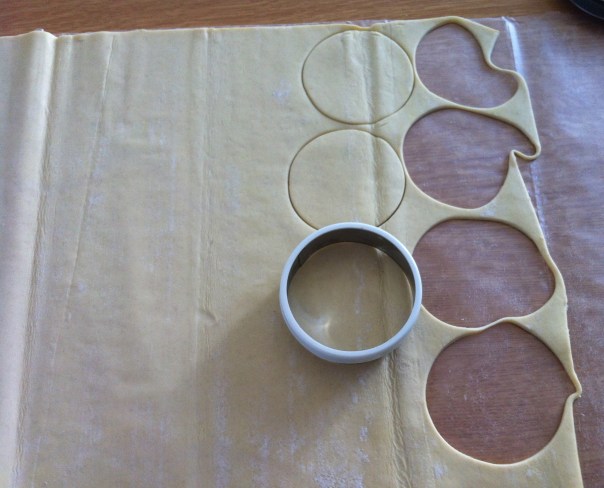
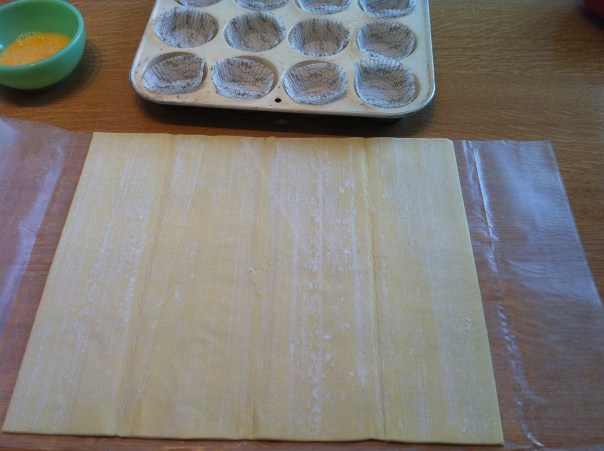
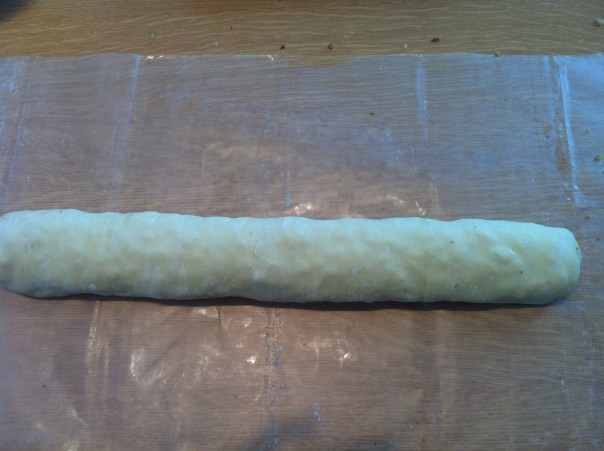
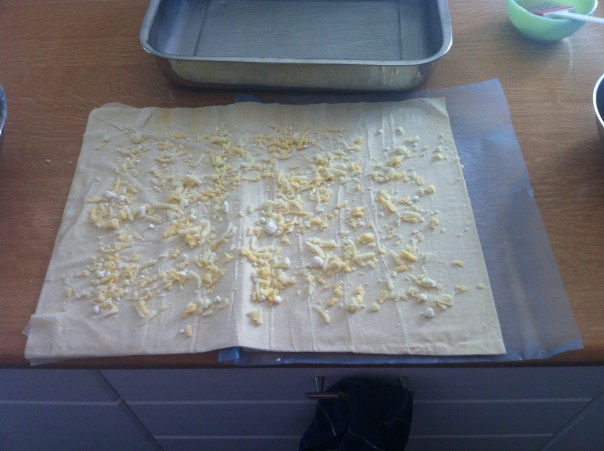
Spread the pastry sheet

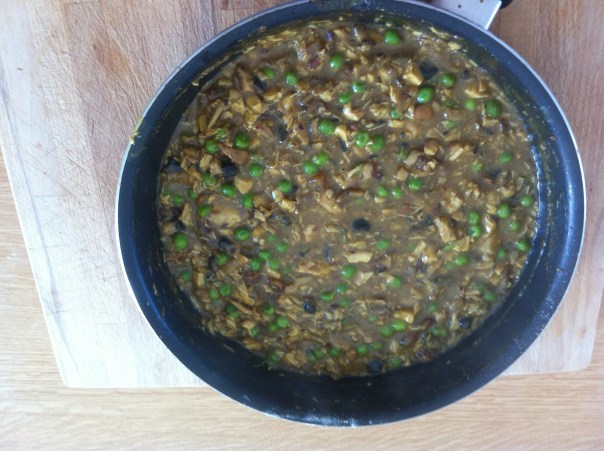
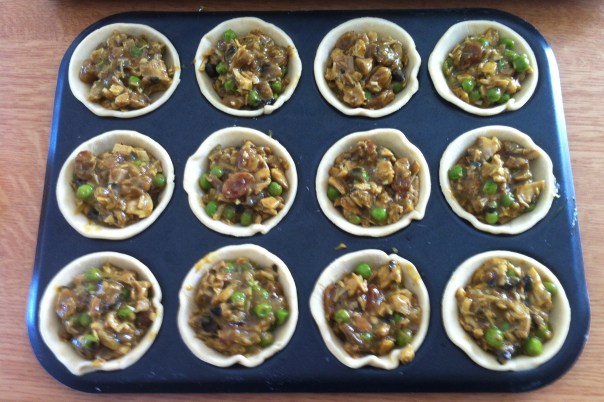
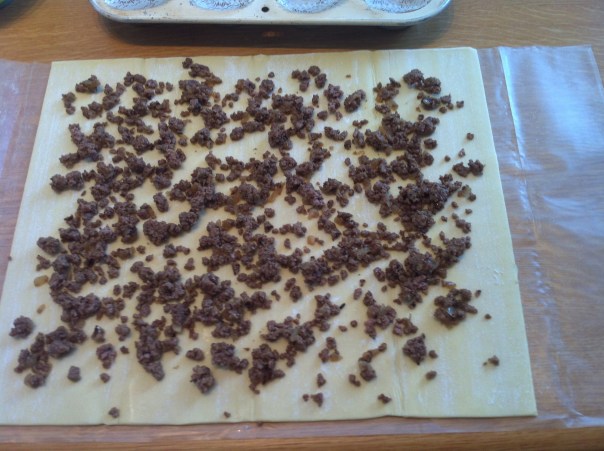
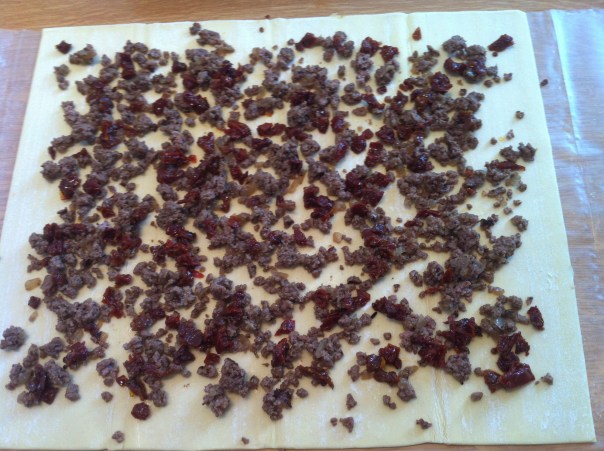
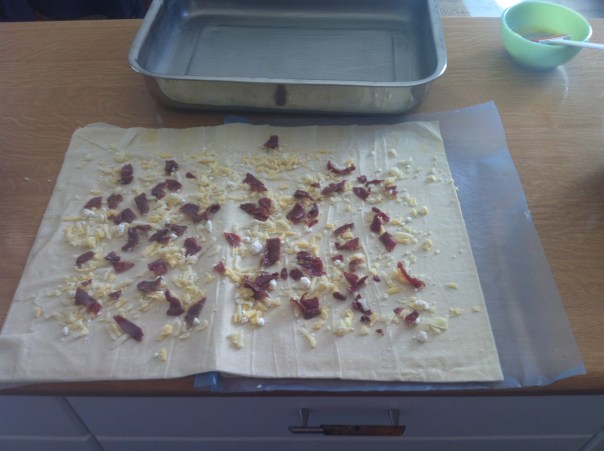
sprinkle the ingredients evenly one at a time

start with the sundried tomatoes, the scallions, the anthotiro, the feta, the spinach, ending with the grated parmesean

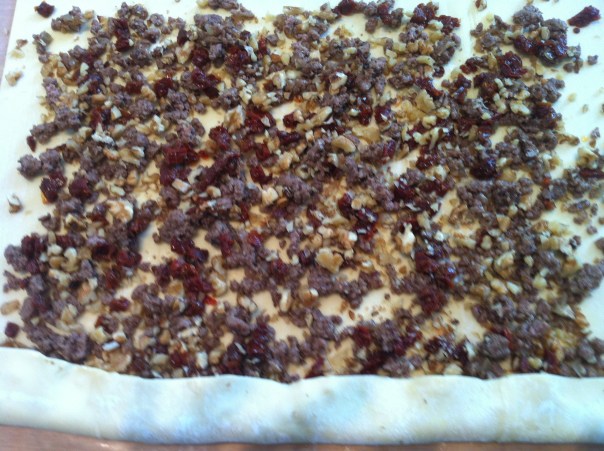
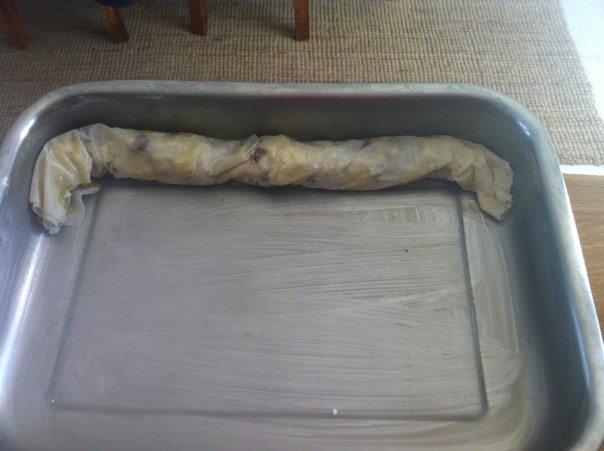
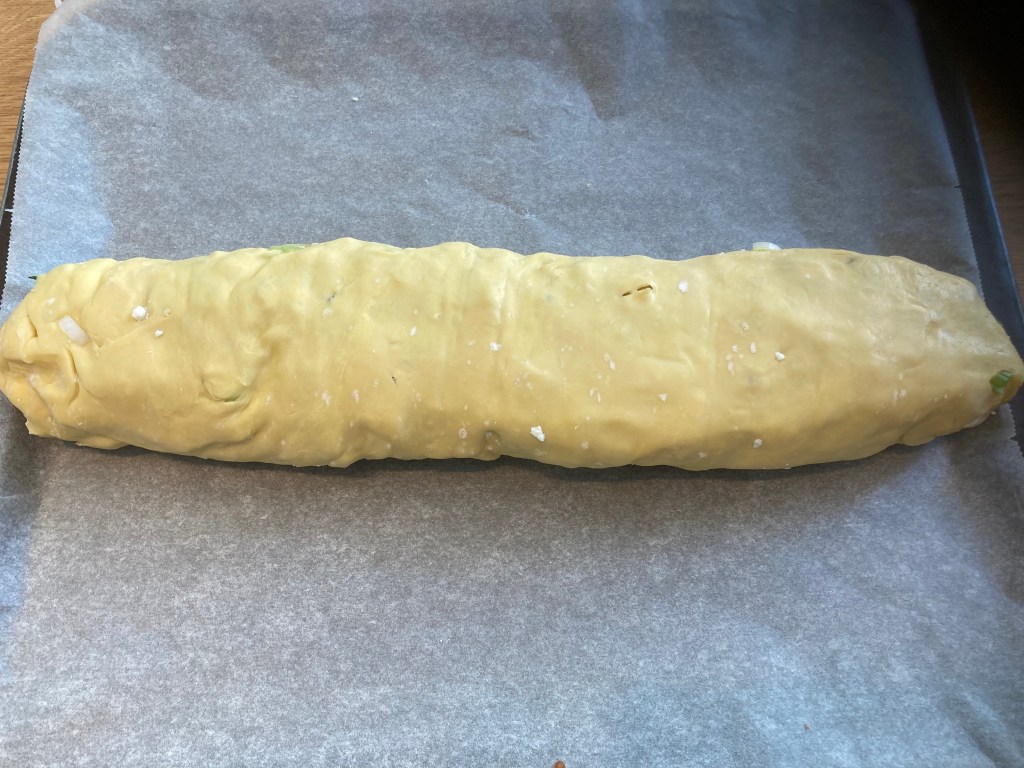
roll the pastry carefully, tucking in as you go along

pinch and seal the seam with your fingers

close the two ends the same way, by pressing together with your fingers

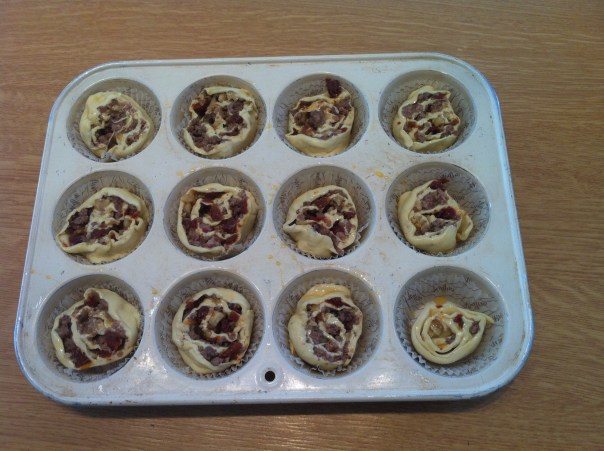
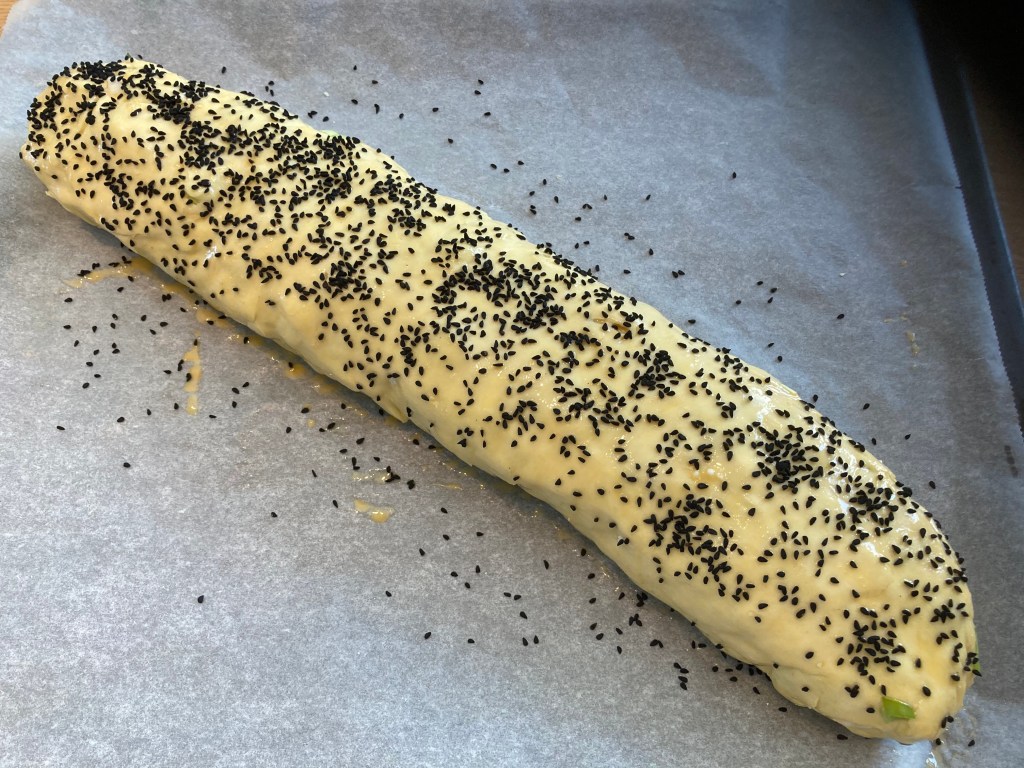
turn carefully on a baking sheet making sure the seam is down

brush with the egg

sprinkle the black sesame

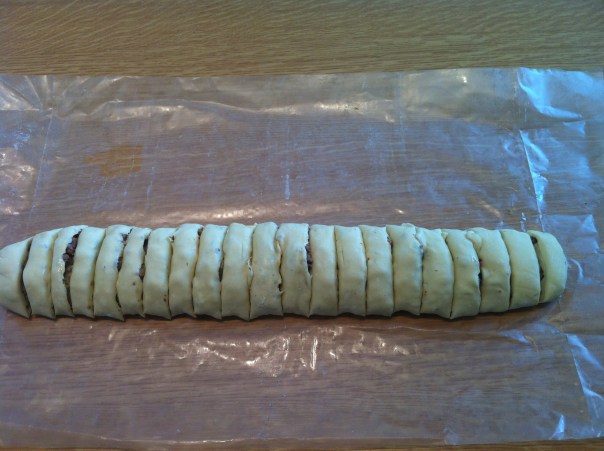
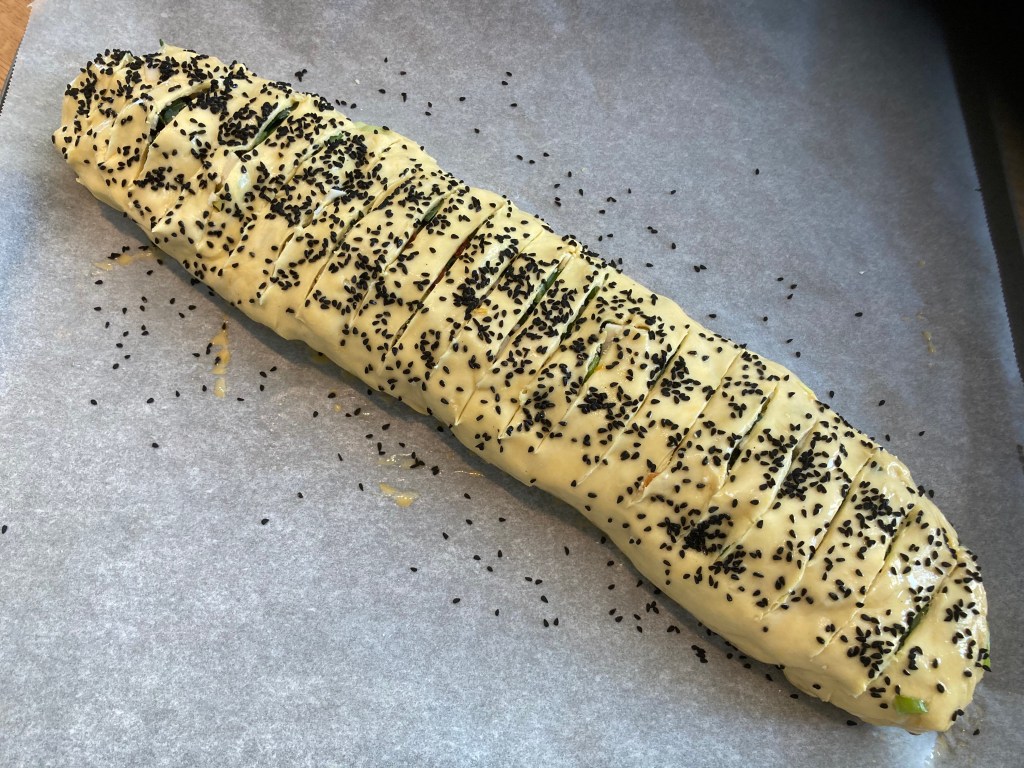
make slits with a sarrated knife marking where you would slice later

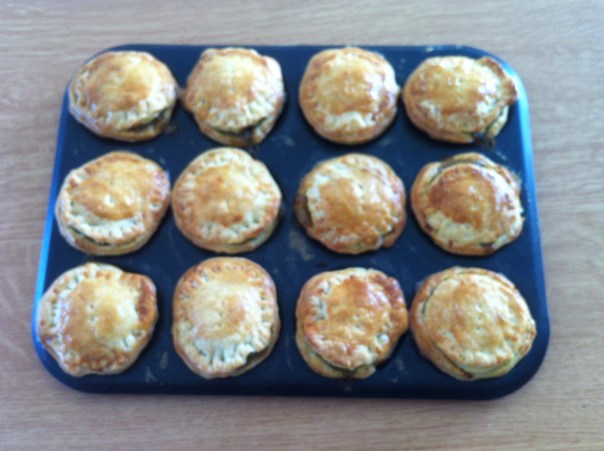
bake in a preheated 180C oven for 40 mns

let cool before slicing

Advertisement

Zucchini Pie-no crust

IMG_2043 2

Alright already, I hear you loud & clear! Lets have a break from this seafood obsession of late, shall we? What about some vegetables for a change.

I have this no-fail recipe for parties & big gatherings, it is delicious, always successful, and best of all an absolute no-fail. Ever! A favourite of Jiji’s, and a favourite of Jacob’s my grand nephew, he calls them “zucchini brownies”!

Ingredients:

4 cups grated zucchini

4 green onions sliced

1 clove garlic

4 tbsp fresh dill

Salt & pepper


4 eggs

½ cup cream

1 cup grated gruyere

1 cup grated cheddar

Method:

Place the grated zucchini in a colander, sprinkle with salt, and set it on a bowl to drain for a couple of hours. Squeeze it dry every time you pass by. You want the zucchini to release a lot of its liquid otherwise your pie will not set.

Place your drained zucchini in a frying pan, add the green onion, garlic, and dill. Saute together lightly, just to combine.

Spread the mixture into a baking pan

add the grated cheese and mix well with your hands to combine zucchini & cheese uniformly throughout

Beat the eggs & cream and add to the vegetable/cheese mixture

Bake in pre heated 190 centigrade oven for 30mns. Should be golden and puffed up.

Let it cool down, cut it into squares, and transfer it to your serving dish.

IMG_2043

So easy, so quick… Absolutely delicioushot or cold. Try it, you will not be sorry!

Eggplant rolls stuffed w/feta

There are certain vegetables that are always available in the market regardless of the time of year. They somehow manage to always look their best; bright, fresh, and inviting.

Good old dependable Eggplant is one of those.

Almost all cultures have numerous dishes centered around eggplant, and Greece is ofcourse no exception. This versatile vegetable shows up in dips, in appetizers, in main dishes, as well as in many new creative combinations that are popping up to surprise us all the time.

This delicious appetizer is fairly easy to prepare, providing you oven-grill instead of frying, and combined with a few black olives and some crisp fresh village bread, it is an ideal companion to a few glasses of ouzo and a nice conversation with friends.

Ingredients:

2 large eggplants

olive oil to brush

sea salt

sauce:

2 green onions

2 tbsp tomato paste

Filling:

1 green onion chopped

1/3 cup chopped parsley

a large slice of feta

Method:

slice the eggplant into 3/4cm thick slices lengthwise

brush with olive oil

sprinkle with sea salt

place on oven tray lined with parchment paper & grill in a preheated oven till golden

turn the slices over and repeat (oil/salt/grill)

make sure you don’t grill more than 5mns per side, depending on your oven maybe even less, as it may surprise you & burn really fast!

while the eggplant is grilling, prepare your sauce:

slice green onions and saute in a bit of olive oil

add the tomatoes paste, some water, salt, and simmer to make a light tomato sauce

set aside to cool

mix your ingredients for the filling

lay the cooled eggplant slices on a flat surface, place some of the filling (as in picture), roll up, and arrange in a baking dish

spoon some sauce over each and bake in a preheated 200centigarde oven for 20mns

Personally I prefer it as an appetizer as mentioned above, but you can also serve it as a starter if you wish.

Enjoy!


Greek Lagana Bread

Greek Lagana Bread-1

My God, I absolutely die for this bread!!!

Unfortunately it is made and sold only once per year on Clean Monday, marking the start of Lent for Greek Orthodox Easter.

It is a huge flat bread, crispy, with sesame seed sprinkled on top. The bread is mostly crust which makes it absolute heaven to eat with just about anything! Traditionally it is eaten that day with Taramosalata, or any sort of a spread really. I love eating it even with just plain old olive oil with a sprinkle of coarse sea salt in it.

Did I mention that I just love this bread?!

Unfortunately the bread does not keep long as it goes hard very fast. But I’m not one to let go very easily of all things loved, so I do my absolute best to make it last as long as I possibly can.

We usually buy two loaves, one of which I slice and freeze. You can take the frozen slices and place directly in the toaster. I first cut it in half length wise, then proceed with the slicing. It tastes just as nice as the first day.

Yummm…………

Now on to slicing, followed by battling with the contents in my freezer for enough room to store this delicious chunk of heaven!


Spicy Curried Chicken Mini Pies:

Spicy Curried Chicken Mini Pie-Finished Product

I may as well continue with my appetizer/finger-food spree. Last one today. I promise!

This is absolutely delicious, and the flavours are quite intense. It doesnt necessarily have to be hot (as in spicy), the heat entirely depends on your curry mix. You should be familiar with the strength of your curry powder in order to decide how much is needed. But you need to make sure that your mixture is well flavoured in order to answer as well as balance the sweet element of raisins in the filling.

Ingredients:

2 cups chopped left over cooked chicken

1 medium onion, chopped

1 cup frozen defrosted peas

1 cup chopped fresh mushroom

1tbsp flour

¾ cup raisins

1 cup hot water

curry powder

1 large sheet of puff pastry

1 egg beaten (for glazing)

Method:

cover your raisins with the hot water and set aside until plump

Saute onions in a bit of olive oil

add mushrooms

add peas

add curry powder

add flour

add raisins with their water

simmer for just a little bit until you have a guey mixture on the thick side

set aside till completely cool

cut your pastry into rounds to fit your mince pie tray (no butering needed, and no paper lining either)

Place rounds in the tray

add a generous amount of filling in each

cover with pastry lids (cut the same size as the bottoms)

press with your fingers, followed by the edge of a a fork, round each pie in order to seal the edges

brush with beaten egg

bake in a pre-heated 180centigrade oven until golden brown

pop out of the tray while still hot and place on counter to cool off

once cool you can freeze them if you wish and re-heat when needed before serving

Enjoy!


Shrimp & Cream Cheese Dip:

Shrimp & Cream Cheese dip-4
Shrimp & Cream Cheese Dip-Finished Product

I love this dip! It is quick, easy to prepare, and it goes so well in parties! It is almost always the first dish to disappear.

I first had this dip in my niece Mona’s house a couple of years back, in one of her Thanksgiving parties that she loves to host.

This present version that I got in the habit of making since, is not the original one. You might have guessed! I never keep to a recipe, and this one is no exception. Sorry Mona, that stick of butter just had to go! The chopped celery too, my husband refuses to eat it….

Shrimp & Cream Cheese dip-1
Shrimp & Cream Cheese Dip-1

Ingredients:

400grs Philadelphia cream cheese (room temperature)

400 grs frozen shrimp

4 green onions

a small knob of butter

1tbsp fish sauce


Method:

Defrost shrimp in a colander to drain all excess water

squeeze with your hands just to make sure all the water is gone

heat the butter in a pan, add the shrimp, and give it a super quick whirl around just to firm up

remove from heat immediately and let cool

chop roughly

chop the green onions

add the softened cream cheese

add fish sauce

I also like to add a few drops of Tabasco to give it a kick, but that’s optional

cover & refrigerate till needed

serve with bagel chips or similar

Enjoy!


Beef & Walnut Pastry Swirls:

Beef & Walnut Pastry Swirls-finished product
Beef & Walnuts pastry Swirls-Finished product

I’m slacking off here, aren’t I? Not one post in well over a month!!

Nevermind, it is a blog after all. My own blog at that. Meaning no shoulds, or shouldn’ts. No demands, and certainly no deadlines! We all have plenty of those in our lives as it is, and creating new self-imposed ones, would not be the smartest thing to do.

Besides, this blog is about cooking yes, but it is also about healing. And God knows I’ve been doing lots of both. The cooking and the healing I mean.

There are no specific explanations as to how and when healing does happen, but I suspect its equal parts: time and choice. Yes choice. Sure time is needed to heal any sort of wound, but I’m beginning to think that choice has a lot to do with it as well. Having had enough of being at the bottom of the well, with hardly any air to breath, there comes a day when you say to yourself enough is enough, its now time to get back to “life”. That precious gift that we have all been given. Accepting it, consciously I mean, is both a privilege and an honour!

Back to cooking.

Yes, I’ve been slacking in the posting department, but never in my cooking. Its part of my life. A part that gives me immense joy! Since I started this blog, I got into the habit of taking pictures as I go along. I take the pictures on my phone, and then delete them as they’re posted. Not having posted in a while, means that I now have an over-abundance of pictures and recipes! Which should I post first?!

My big love has always been appetizers. And nibbles. All sorts of finger foods, that go well with drinks, and chats, and friends. And I’ve done quite a bit of those, these past few weeks. So let me start with that.

Beef & Walnut Pastry Swirls:

Actually the idea of this recipe, was inspired by the famous Lebanese/Syrian/Armenian Lahm-B’Ajeen. Its been a lot on my mind lately… This one is a lot faster ofcourse, not to mention way easier, but the taste is almost identical.

Ingredients:

¼ kg ground beef

1 medium onion

6 sun dried tomatoes

1 cup walnuts

1 large sheet of puff pastry

1 egg beaten (for glazing)

Method:

Chop onion and saute in a bit of olive oil till translucent

add ground beef, salt, pepper, and brown

set aside

chop sun dried tomatoes

chop walnuts medium ruff

open your sheet of pastry and distribute your filling one at a time,starting with the ground beef mixture, then the sun dried tomatoes, than the walnuts

roll up jelly roll fashion

wrap well and refrigerate for a couple of hours

slice into 1cm thick slices

place in a mince pie tray lined up with appropriate size paper holders

brush with beaten egg

bake in a pre-heated 180 centigrade oven until golden brown

pop out of the tray while still hot and place on counter to cool off

once cool you can freeze them if you wish and re-heat when needed before serving

I love to prepare nibbles ahead of time and freeze ready for unexpected company.

Enjoy!


Magdi’s Pickled Olives

Magdi's pickled olives
Magdi’s Pickled Olives

The olive picking season is now nearing its end in our beautiful island. And I am so happy and grateful to now have super yummy thick & delicious olive oil, to last us until the next season rolls around.

As for the actual olives, meaning the eating-kind, we just buy them in the super markets and grocery stores. It is not worth the trouble of actually making them, as there is a wide variety of olives from all over Greece, readily available throughout the year.

Because of this blog however, and its main purpose of honoring our family heritage in the kitchen, I got inspired this year and decided to pickle some olives!

By the time I got around to picking the one and only tree that hadn’t been “milked” for oil, the olives on it were half black already. Never mind that the actual recipe is for green olives, I have no doubt that this lot will turn out just as delicious. Maybe even more so, in their unique half green half black self.

The recipe I will share is from my brother-in-law Magdi. He was the king of pickling! Any vegetable, of any sort, be sure that Magdi pickled it and alchemy-ed it into a spicy pick me up form, to delight (and sometimes shock!) your taste buds.

Over thirty years ago, my mother-in-law was seriously ill in the hospital. Those stressful weeks, naturally headed me towards the kitchen, in what I now recognise as a life-time habit of seeking relief through cooking. One Saturday morning, I called my sister long distance and asked her to please ask her husband for his recipe for pickled olives. My ever so diplomatic sister, delicately covered the phone with her hand and told her husband in a very worried voice: “Magdi, I think the girl has lost it! Her mother-in-law is in hospital and she wants to pickle olives!”

That story had become a classic that my sister loved recounting for years to come whenever we got together.

Needless to say I did get that recipe, and I did pickle those olives.

So here it is, for those of you who are inspired to pickle olives:

Magdi’s Pickled Olives!!

Ingredients:

3 pickling jars of 750ml each (the ones that have a rubber thingy around the lid – see picture)

2 kgs olives

3 lemons (one for each jar)

6 large garlic cloves (two for each jar)

1 lemon for juicing

4 cups boiling water

1 ½ cups salt


Method:

with a sharp knife put a slit in each olive (to allow the bitterness to escape)

soak the slit olives in water for 3-5 days, making sure to rinse and change the water once or twice/day.

P.S. Don’t skimp on those first two steps or you will end up with bitter olives almost impossible to eat.

Divide your olives in three separate bowls. To each bowl you will add 2 garlic cloves slit in half, and one lemon cut into thin-ish wedges. Mix well, and put the content of each bowl in a jar.

Combine the boiling water, the salt, and the juice of one lemon, stir well until salt is dissolved.

Divide the brine between the 3 jars. Make sure you leave enough space to be able to close the lid well. You may end up with some extra brine, just discard.

Push the olives lightly with your fingers to make sure that they’re all covered with the brine. Cover with a layer of oil, and seal the lids tightly.

Store your jars in a dry place. I also cover them with a dark towel to prevent exposure to the light.

Now for the hard part: do not be tempted to open before at least 3 months! You may leave them longer if you wish, they can stay for as long as a year or more. Let your taste buds be your guide.

Enjoy!


Cheese & Basterma Pie


cheese pie 2

Ingredients:

1 packet filo pastry

300 grs Kasseri cheese (grated coarsly)

300 grs Milner cheese (grated coarsly)

300 grs feta cheese (crumbled)

Mix all 3 cheeses together & place in a bowl

300 grs basterma (coarsly shredded with fingers & lightly cooked for easier spreading)


Method:

Pre-heat oven to 180 centigrades.

Butter a large baking tray.

Open the filo sheets one at a time

sprinkle some cheese mixture

sprinkle some Basterma

(make sure you leave about 1cm at far edge filling-free, and brush it with butter so that it seals better when you close the role)

roll from bottom up swiss roll fashion as in picture

place in pan, curling the edges to fit the width of the pan

keep placing the long rolls close to one another snuggled tightly in the pan until you run out of filo or of filling whichever comes first!

Just look at the pictures, they walk you through the steps one at a time.

Beat 1 cup milk + 1 egg

Pour on top

Bake for 45 minutes.

Everyone’s oven is sometimes totally different, so I suggest that you start checking after 30 minutes, and keep an eye on the colour to make sure that your pie is not overcooked.

Enjoy!